If you’re a Tesla owner, then you know that Supercharger stations are a crucial part of the ownership experience. Unfortunately, if your Tesla won’t charge at supercharger station, it can be a huge inconvenience.
Here are some tips on how to troubleshoot the problem and get your car back up and running.
Fix : Tesla Won’t Charge at Supercharger

1. Check the Charger
If your EV won’t charge at a supercharger, there are a few things you can check before panicking. First, make sure that the charger itself is working correctly – it’s not uncommon for Tesla charging stations to malfunction.
If it seems to be working fine, try moving the car to a different station.
If that doesn’t work, it’s possible that the high-powered wall connector (HPWC) is to blame.
Try checking it at a different charger to see if that’s the case. If none of these solutions work, then there may be an issue with the battery. However, there’s no need to panic – simply contact customer service for assistance.
2. Reboot your Tesla
If you notice that your automobile isn’t being charged properly, try rebooting it. There could be problems with the vehicle’s MCU (a digital computing component) which can sometimes need to be repaired via a reboot process
However, this will depend on what type of issue is causing them in the first place.
3. Contact technical support
If your Tesla won’t charge at a Supercharger, you should do is contact technical support. They will be able to help you troubleshoot the problem and determine if the battery system is at fault.
How to fix : Tesla won’t charge at Home
Your EV not charging at home can be frustrating, but luckily, there are several ways to get it working again. In this article, we’ll explore some potential reasons for the malfunction and how you can fix them.
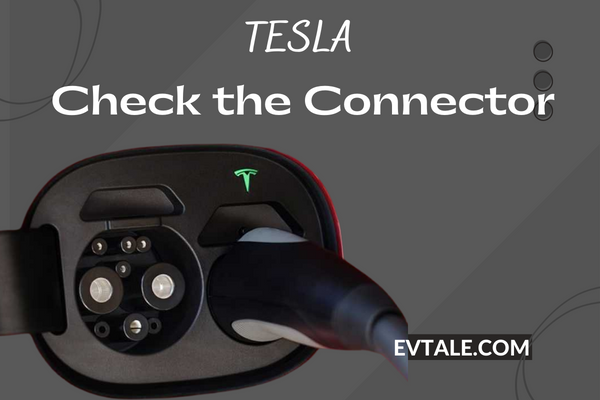
1. Check the Connector
If you’re having trouble charging at home, the first thing you should check is the compatibility of your charger and car.
Some newer models come with a CCS port (European models) instead of Tesla’s proprietary port, which means they might not be compatible with US home connector.
The same is true for US models with European connectors. To avoid this problem, make sure to confirm compatibility before installing a home charger.

2. Malfunction With the Charger
Whenever you charge your EV, it’s important to check the adaptor and make sure that there aren’t any issues with its functionality.
You can run a diagnostic via the Tesla app which will show if everything is working as intended or request service from an authorized repair partner to resolve this problem.
3. Check Your Ports
Keeping your EV in peak condition means regular check-ups of the charging ports for any debris. Both the connector and the outlet should be checked regularly, as should the port on your car.
Debris can prevent a full connection from being made, which can damage the ports. In addition, debris can also cause damage to the car’s battery.
Therefore, it is important to make sure that the ports are clear of any debris before charging your EV.
4. Charger Timer Settings
Tesla chargers are a convenient way to automate your car charging. However, if you have set it to only work at night, your car won’t get charged if you come back and plug it in during the day.
The fix for this is simple. Open your app and adjust the timer, so it can operate during the day once you’ve connected the adaptor to the internet. You may return to your preferred setting after the car is charged.
5. Check for Light Signals
When your home charger won’t charge, the first thing you should check is the lights on the charger. If there are no lights, then you are dealing with a power supply problem.
This means that there is no power coming from your breaker panel. The next thing you should do is check for a solid red light.
This indicates an internal fault and that the wall connector may be damaged and need replacement. If you see a blinking red light, this means that the charger is not properly connected to the vehicle.
Make sure that the charging cable is properly plugged into the vehicle and that the vehicle is in Park mode before trying to charge again. If you still can’t make it work, contact customer service for further assistance.
Tesla won’t charge after update
It can be frustrating when your Tesla won’t charge after an update, but there are a few things you can try to get it up and running again. One is to reboot the car completely – this means turning it off and then on again, not just restarting it.
You can also try putting it into sleep mode for a long period, as sometimes the software for the charging board can freeze after an update.
Power off your Tesla for more than three minutes and then turn it back on. This will reset the system and allow the charge to resume. It’s always a good idea to power off after updates, as this can help prevent potential issues.
Conclusion
If you own a Tesla, it’s important to be aware that there have been some reports of not charging after a software update. If this happens to you, the best thing to do is drive to the nearest service center.
The staff there will be able to take care of the issue without an appointment.
Meanwhile, you can try charging from a different outlet or using a different adaptor. If none of these solutions work, please provide the service center a call, so they can help you troubleshoot the problem.